
Many applications have the need for asynchronous or background processes to perform work outside of the standard Rails request/response lifecycle. On bare metal servers or virtual machines, the cron system service has historically been used for this purpose, but there are some great Ruby and Rails-native solutions available. As you implement these capabilities, keep in mind the following key considerations for your Rails container-based apps:
- Container environments vary in terms of lifecycle and setup. Containers are more ephemeral, as they can rapidly scale up or down. Thus, you need to consider whether your processes will be interrupted or are able to have multiple copies running simultaneously. Additionally, access to system services is a bit different because the container is a virtualization of the underlying host operating system.
- Rails provides a rich infrastructure and you likely already have numerous application components that can be used in these jobs. Thus, there are great advantages to leveraging that infrastructure. A cron job, by comparison, has its own separate environment and configuration to manage.
In this article, we look at the following use cases for scheduled jobs that leverage tools including Sidekiq and Cronenberg.
- Scheduled operating system-level jobs, i.e. “cron jobs”
- On-demand and Scheduled Asynchronous Processes in your Rails infrastructure
Scheduled Operating System Processes, i.e. Cron Jobs
Although you can configure cron in your Dockerfile, we recommend the use of Cronenberg which provides a software implementation that complements your Twelve-Factor Application application. It runs as another process in your container, not as a system service. It is intended to be simple and portable, so it avoids the use of hard-coded locations for the equivalent of crontab files. Instead, it takes an argument with the location of the configuration file.
There are three steps to setup and use Cronenberg in your container environment. First, you can use a base image that has it installed or add this command to your Dockerfile.
RUN wget https://github.com/ess/cronenberg/releases/download/
v1.0.0/cronenberg-v1.0.0-linux-amd64 -O /usr/bin/cronenberg &&
chmod +x /usr/bin/cronenberg
Second, include a cron-jobs.yml file in your project repository. An example is shown below. It is much simpler than the Kubernetes manifest and a bit closer to the crontab format we are used to dealing with.
# This is just a normal job that runs every minute
- name: hello-world
  command: echo "Hello World"
  when: "* * * * *"
You then execute cronenberg itself using the applicable option below.
- Native Docker or Kubernetes: Add the following CMD to the end of your Dockerfile
CMD cronenberg ./config/cron-jobs.yml
- If you are using a Platform-as-a-service (PaaS) such as Engine Yard, add the following entry to your Procfile:
cronenberg: cronenberg ./config/cron-jobs.yml
Rails-based Asynchronous Processes
Sidekiq is a framework that describes itself as “Simple, efficient background processing for Ruby.” It is nicely integrated with Rails and can run your background jobs either on-demand or on a scheduled basis. Setting it up and using it is indeed fairly simple. However, one constraint to note is that it does use Redis to persist and coordinate job execution.
To get started, add the sidekiq and sidekiq-scheduler gems to your Gemfile and run a bundle install
gem 'sidekiq'
gem 'sidekiq-scheduler'
The jobs themselves can be implemented using either the Sidekiq native worker format, or the Rails ActiveJob implementation. If you are on the latest version of Rails (6.x), most Sidekiq features are supported. In this article, we will discuss the ActiveJob option.
In your config/application.rb file, add the following line so that Sidekiq is used instead of the default pure in-memory implementation.
class Application < Rails::Application
  # ...
  config.active_job.queue_adapter = :sidekiq
end
You can create a job class yourself, or use the Rails generate command. For example, use the following command to get started on a Report job.
bin/rails generate job Report
The example project used in this article is an instant poll application, thus the ReportJob calculates the total number of respondents for the entire poll as well as each individual choice. It logs the information to STDOUT which is made available in the container logging infrastructure.
Note that you indicate in the class which queue the job should be run on.
class ReportJob < ApplicationJob
  queue_as :default
  # ...
end
Without any specification, Sidekiq uses a single default queue for all jobs. What this means is that all of your jobs will run with the same priority relative to any other job. You can create multiple named queues and assign them each a priority. This is defined in a configuration file which by default is located at config/sidekiq.yml. You likely want to create a configuration file for your project, not only to create your own queues but also because this is where scheduled Sidekiq jobs will be defined.
Running a Process On-Demand
In some use cases, a user action will trigger a background job. You can invoke or schedule a job using the following code. In the example application, it occurs in a controller action when the user clicks a button to run the report.
ReportJob.perform_later
Sidekiq Configuration File
An example of a sidekiq.yml file with named queues defined is shown below. Sidekiq will poll the ‘high_priority’ queue for work twice as often as the ‘low_priority’ queue, as indicated by the associated numeric argument. If the value was 4, for example, that would indicate jobs in the queue are handled four times as often as the low_priority queue.
---
:verbose: false
:concurrency: <%= ENV.fetch("RAILS_MAX_THREADS") { 5 } %>
:timeout: 30

:queues:
  - [low_priority, 1]
  - [high_priority, 2]
Redis Storage
Sidekiq stores information in Redis to support scheduled jobs, status, and coordination across multiple clients. For development, you can run a local Docker container using the following command. By default, Sidekiq will look for Redis on localhost using the standard port.
docker run -it --rm -p 6379:6379 --name redis -d redis redis-server
--appendonly yes
If you want to have redis persist data across startup/shutdown of your local container, add the following argument to the docker run command so you can map the storage directory to your localhost filesystem.
-v /path/to/your/app/storage/redis:/data
In production, you will need to run the Redis container using your orchestration framework or according to the directions on your PaaS platform. For example, here is how you provision Redis on Engine Yard Kontainers. You also need to configure the location of Redis so Sidekiq can connect. In containers, this is customarily done using the REDIS_URL environment variable. In Engine Yard Kontainers, this is set using the following command.
eyk config:set REDIS_URL=redis://your.redis.host:6379
Running Sidekiq
Earlier we saw code used to invoke or schedule a job from within your Ruby application. That puts the job request in the queue, but you still need the actual Sidekiq process to read from the queue and execute the jobs. You execute the Sidekiq process using the applicable option below.
- Native Docker or Kubernetes: Add the following to the end of your Dockerfile
- CMD bundle exec sidekiq
- If you are using a Platform-as-a-service (PaaS) such as Engine Yard, add the following entry to your Procfile:
- sidekiq: bundle exec sidekiq
Scheduling a Background Job
For known periodic invocations of a process, you can schedule jobs using the sidekiq.yml file. This is the equivalent of setting up crontab entries. Below is a sidekiq.yml file that schedules our Report job to run the first minute of every hour.
---
:verbose: false
:concurrency: <%= ENV.fetch("RAILS_MAX_THREADS") { 5 } %>
:timeout: 30

:queues:
  - default

:schedule:
  ReportJob:
    cron: '1 * * * *'
    queue: default
    enabled: true
Sidekiq Web Console
Sidekiq provides a dashboard where you can see and manage your jobs. It is simple to add, just add the following require statements and mount to your routes.rb file.
require 'sidekiq/web'
require 'sidekiq-scheduler/web'
Rails.application.routes.draw do
  # ...
  mount Sidekiq::Web => '/sidekiq'
end
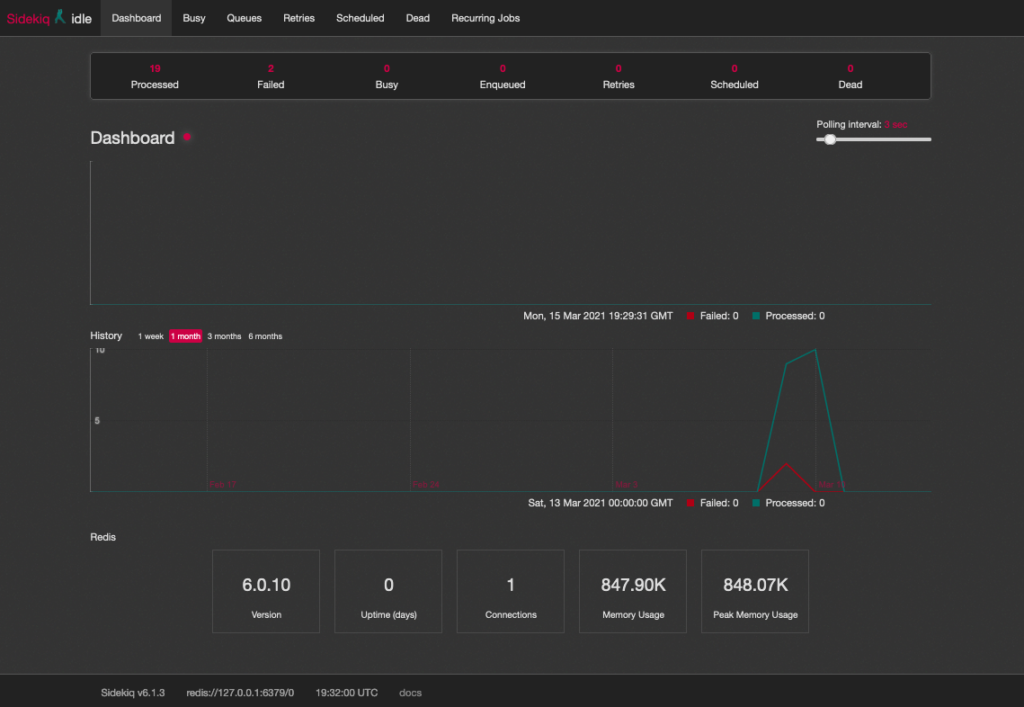
Below is a screenshot from the Sidekiq dashboard.
Error Handling and the Retry Mechanism
As we all know, distributed systems fail intermittently and sometimes in interesting ways. Plan for these scenarios by using the retry mechanism. The following code snippet provides an example of how to handle a specific error.
Consider what errors are recoverable and deserve a retry vs. those which you should simply issue metrics to trigger an alarm. Attempting retry on an unrecoverable error will just cause a retry storm, and perhaps cause problems with other parts of your system.
Here is the code to use in your job class if you want to specify retries.
class ExampleJob < ActiveJob::Base
  retry_on ErrorLoadingSite, wait: 5.minutes, queue: :low_priority

  def perform(*args)
    # Perform Job
  end
end
Scaling and Other Design Considerations
Be sure to consider the following items when designing your scheduled jobs.
- Consider whether you should auto-scale your Sidekiq or Cronenberg container. A common configuration is simply to set the scale to one. If your jobs are not idempotent or you need to avoid contention, this is a good approach. If you don’t have these issues and can leverage the scalability, then by all means use those containers to their potential.
- Many scheduled processes take up very minimal amounts of resources, so consider packing related jobs on these containers so that you can most efficiently use your infrastructure resources.